
Ori-nui shibori is created on the fold of the fabric.Traditionally, ori-nui is stitched on an undulating line. A simple running stitch is sewn close to the edge of the fold. Once all the lines have been stitched, all the threads are drawn up, the piece is lightly sprayed with water, an additional tug to tighten up the stitching, and the ends are either knotted with the ends of the two threads or knotted with the adjacent row.

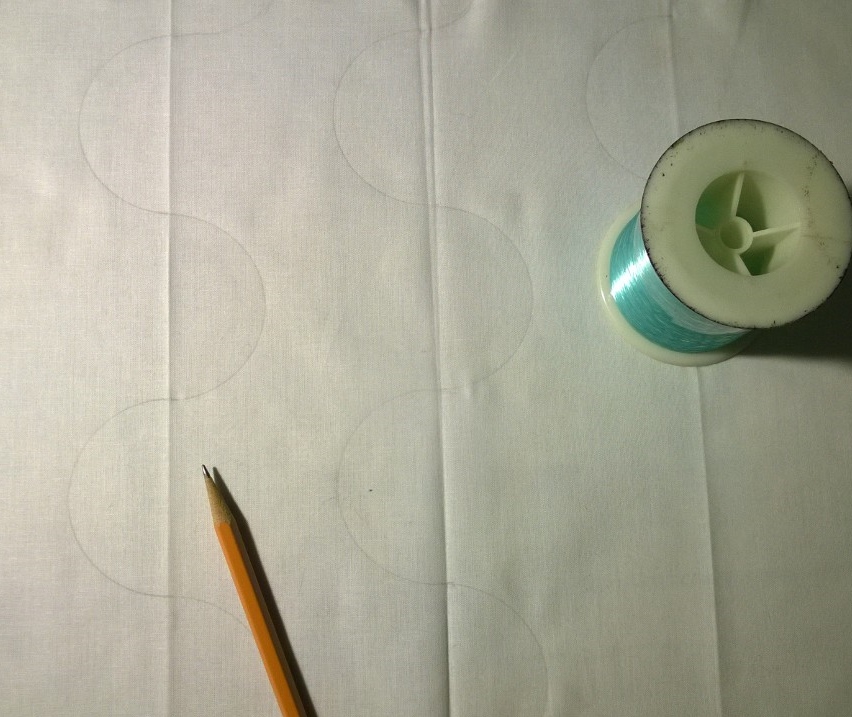
If stitching the undulating lines, you may want to mark the fabric lightly with a pencil line as a guide or use a vanishing fabric marker.

As you can see in the blue and white piece pictured, I've created random straight lines to stitch. You can either crease the lines with your thumbnail or take the fabric to the ironing board and crease lines with the iron.

Here I've creased the fabric and stitched close to the fold making sure I haven't stitched into the threads as I cross over previous stitched lines.
 |
| Silk dyed with navy ProChem washfast acid dye. |
In this piece I've started with ori-nui stitched random lines and then stitched a second row stitches making a bolder line of stitching.
 |
| Cotton dyed with deep navy Procion MX dye. |
Above you can see the difference in color between the two sample pieces; silk dyed with navy ProChem washfast acid dye and cotton dyed with deep navy Procion MX dye.
 |
| Dye-Na-Flow on wet & dry cotton. |
The piece on the left was pre-soaked in water and the Dye-Na-Flow was painted on rather heavily. You can see how the paint did soak into the creases somewhat. Though I'm not exactly sure why, it could be that the pigments in this paint are smaller than the dye particles found in a true dye.
The piece on the right was painted on dry fabric. The results were rather blotchy. Not sure if I'd consider either method a success.
 |
| Cotton painted with Speedball Fabric Screenprinting Ink
I liked the results of the Speedball Fabric Screenprinting Ink best. It was lightly painted on the top of the pleats, dry fabric.
 |
 |
| Cotton dyed with deep navy MX Procion stitched through two layers, mokume.
The piece above was stitched through two layers. The dark areas that divide the piece were created by skipping across the fabric while stitching the rows. See image below. The half on the left was the top layer and the half on the right the "back" side. The rectangles on the right were caught up more in the gathers than those on the left side. I might have had better luck if I had marked my fabric before stitching. My lines of stitching the row of "rectangles" aren't very straight. Maybe that was my intention:)
|

Below is another piece where I've randomly skipped areas while stitching mokume resulting in scattered dark areas.

Tips and Reminders:
1. After stitching and drawing up all the threads, lightly spray the fabric with water to swell the fabric and thread making it easier to pull up the threads a bit more and tie the knots.
2. Soak the piece in warm water 30 minutes to an hour before dyeing to get a better resist.
3. I measure the amount of thread needed for a row and cut several pieces ahead of time.
4. Some who hand stitch like to have a pin cushion with needles pre-threaded and ready for the next row. I prefer to use the same needle which I don't cut off until I have the next piece of thread in my hand. If I cut it off before I'm ready to thread it again, I can never remember where I've put it.
5. I keep a small "Go Bag" with my necessary supplies for stitching to take along when I know I'll be waiting in a doctor's office, a passenger in rush hour traffic, or catching up with a relative on a speaker phone call. Nothing wrong with multi-tasking in these situations. Right?
 |
| Japanese Larch stitched shibori. |

Thanks for sharing your experiments and so much information. I am grateful for your generosity.
ReplyDeleteGreat information and new ways to try ! Thank you for sharing
ReplyDeleteLovely samples with great instructions. Thanks for sharing!!
ReplyDeleteGreat samples and tips! Looking forward to your last post!
ReplyDeleteTried some of this a couple of days ago and really like it. Looking forward to more. Thanks for the tips and info!
ReplyDeleteI have so many posts saved from The Printed Fabric Bee and all the wonderful techniques and ideas my head is spinning! Now anticipating cooler weather to focus on being creative. I feel well on my way thanks to your information on various techniques.
ReplyDeleteThe shibori pillows are stunning, too!
Wonderful!!
ReplyDeleteOh my these are stunning, such small differences in stitching produce such wonderful results!
ReplyDeleteLove the juxtaposition of Shibori pathways in your pillows!
ReplyDeleteThis Peggy Greenwood commenting. Not sure why the docent thing popped up.
DeletePeggygreen@aol.com
just gorgeous. I love it.
ReplyDeleteFantastic textures! I recently made my first stitched shibori piece, which was surprisingly successful. Thanks to your post, the Japanese Larch resist is now calling my name!
ReplyDeleteFabulous examples - thank you!
ReplyDeleteThe list of tips was especially useful!
This is so interesting! I could spend many, many happy hours experimenting with these shibori techniques. Thanks.
ReplyDeleteYour shibori pillows are beautiful. I love the colours and effects. One day I will have to try these techniques.
ReplyDeleteI love your shibori handwork!!! It's stunning. You have given me courage to try my hand at the stitching and dyeing again. Thank you for your post.
ReplyDeleteThanks all for your comments. Hope you enjoy my next post covering the Japanese Larch.
ReplyDeleteThis comment has been removed by the author.
ReplyDelete