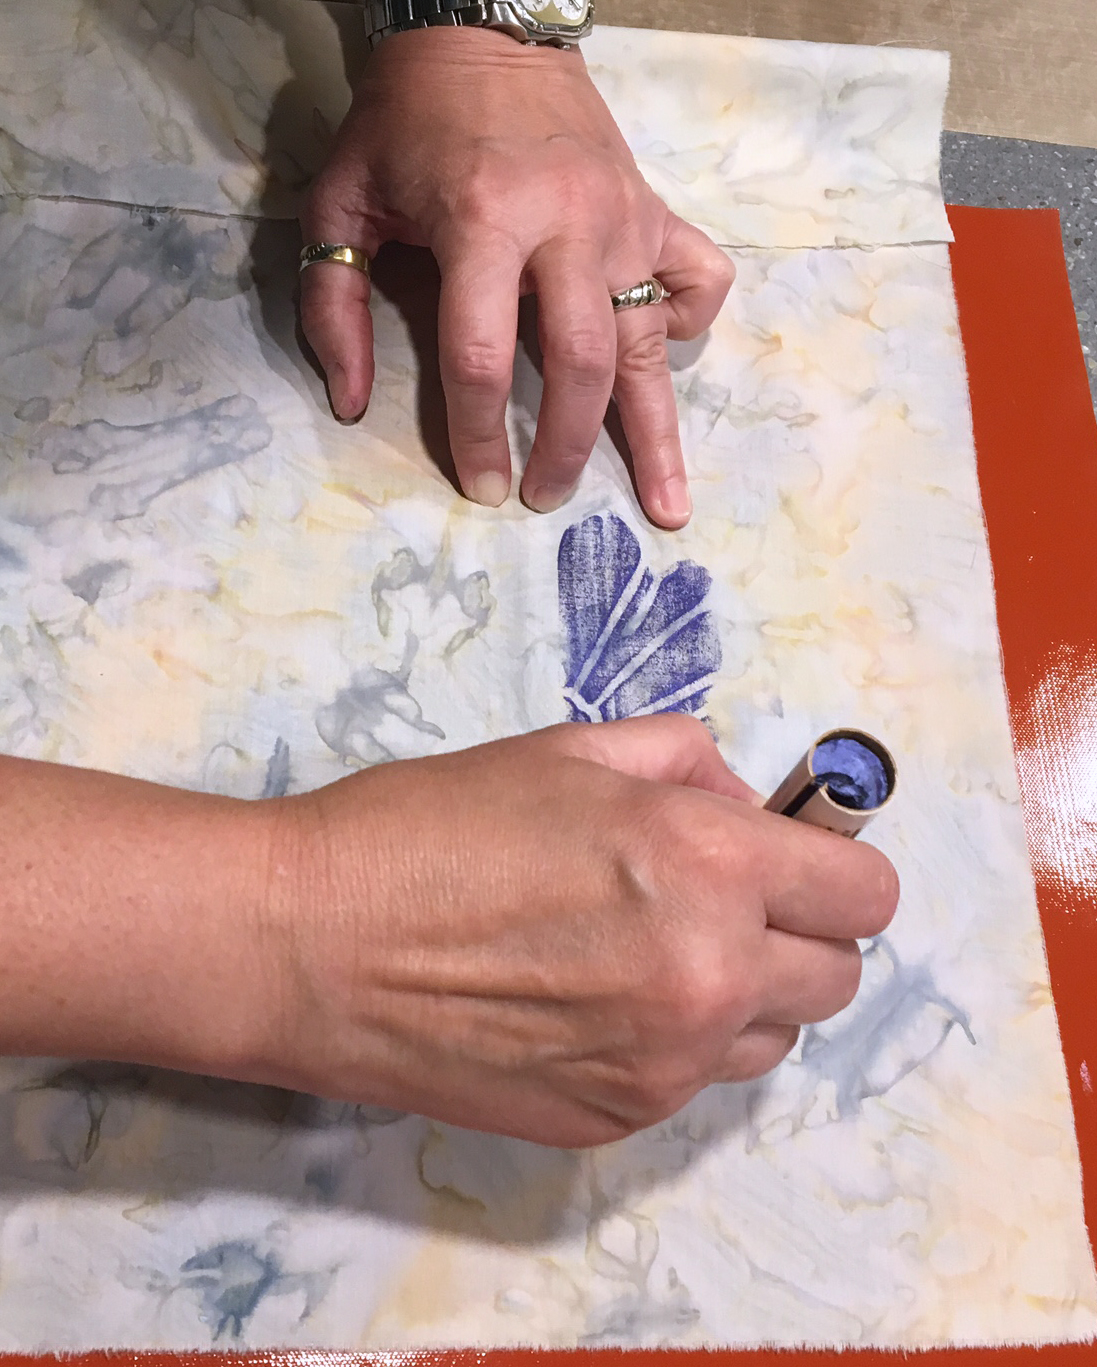
To get set up, you'll need your Paintstiks, mess management tools (see most recent blog post), fabric, your Grip-n-Grip, and some stencils. You may need a knife to open your Paintstiks if it has been awhile since you used them. Go ahead and round everything up. I'll wait right here.
If you've been using your Grip-n-Grip heavily, you may have noticed that it's not as sticky or grippy as it once was. No worries. Cleaning your Grip-n-Grip is fast and easy. Plunk your Grip-n-Grip into your kitchen sink (or other sink with a large flat bottom) get it wet, and rub some Dawn dishwashing soap or other degreasing soap on both sides of your mat. Rinse well. To hurry the drying process along, take it outside or to a shower stall and give it a good flick to dislodge the water droplets. It'll dry pretty quickly. Do not dry it with a dish towel. Ask me how I know. Sigh.


To set up for using stencils, place your mat on your work surface. Next, add your single layer of fabric and smooth it down on top of your mat. It should stay pretty stable.
There are so many stencils on the market! It's hard to choose where to spend my money. While I have a few stencils that are focal points, I like to collect patterns that will work will as layers in bigger, more complex surface design. For this demo, we're working with a bit of a mix; these flowers could be a focal point, or you could layer with them. The dots and checkerboard are immensely useful.


Once you choose your stencil and decide where to place it, I like to add a hinge of painter's tape. Just run a length of painter's tape half on the stencil (don't block any of the openings) and half on the fabric. When you are painting, you can hinge up the stencil, check your progress, and return the stencil to the same spot to continue working.
Tape versus spray adhesive: If you like spray adhesive, go ahead and use it on the stencil to keep in place as you work. I rarely use it for several reasons. The smell can trigger migraines and nausea for me, the spray is generally bad for the environment, and cleaning up the stencils is harder with adhesive on them. Also, if you plan to move your stencil around as you add layers, the adhesive can pick up paint that's still wet and spread it to other areas of your work. It's up to you.
While we used the Paintstiks directly on the fabric with rubbing plates, I don't do that with stencils. To start, you'll need a palette. I like to use lids from take-out containers. Cover the inside of the lid with painter's tape. The grippy nature of the tape will give you enough texture to transfer paint onto your new palette. When you're finished, you can peel off the tape and throw it away. Clean up is fast.


Stencil brushes are not all created equal. If you used to paint borders around the top of your wall with liquid-ish paint (Remember the 70's?), those brushes will not work here. Look for really stiff bristles. Sometimes you can cut the brush bristles shorter to make them stiffer, but it's just easier to have a selection of appropriate brushes on hand. Cedar Canyon makes four sizes and I have scads of them. (In fact, there's a set of four in the prize package. Leave a comment to enter...) Choose the size that is small enough to get paint into the stencil holes and large enough to finish the project in a reasonable amount of time. There's no right answer.

Using your Paintstik like a crayon, scribble some paint on the tape on your palette. Remember, you need to remove the skin from your Paintstik before you use it. Load your brush from the palette and remove any bits of paint skin or globs of paint. Go to the stencil and start filling in the holes.

One advantage of the Paintstik's consistency is that you don't have to start on the outside and draw the brush in. Liquid paint could run and spread; Paintstiks will not. To fill an area, I often paint in circles and scrub the paint into the fabric. The Grip-n-Grip will help keep the fabric in place.

If you're working with a larger stencil and you only want to use part of it, painter's tape is your friend. There's a reason they call it masking tape! Place strips of tape over the parts you want to mask and remove that tape when you're finished.

Keep in mind that you may want some areas to be darker and others lighter. If this is the case, be intentional with your brush strokes and keep an eye on color value. In the larger flowers, below, I chose to keep the darker values at the edges and the lighter values in the center. That leaves my options open for more paint or some embellishments.

As you work, use the hinge to check your work. I think this layer is done, so I'll take the stencil off and look for what I want to add next.

If one added layer is good, won't two be better? I'm told by my art quilt students that one of the hardest decisions to make is to decide when your work is finished. In this case, I'm using two of my favorite go-to stencils (one at a time) to add balanced but asymmetrical layers. If you're not sure you're done, live with it for a while.

Finished. This isn't a masterpiece, but I hope it shows you what you can do with Paintstiks and the stencils you may already own.

Do you remember the big flower I did in the last post with a rubbing plate? I added a bit of texture by putting a piece of construction fencing under the fabric and using that as a rubbing plate, too. Here's what happened when I stenciled another layer with a different color. As you play, you'll develop favorite combinations and this will all be so easy, you'll wonder what took you so long to get started.

Here's one last piece of eye candy.

I did this with one stencil, two Paintstiks, and two brushes. I used a mottled light grey fabric for the background and that's how I got the tree trunks. I used a lovely cobalt blue for the sky and was careful about color value (darker at the top, filtering to a lighter value at the bottom) to give the impression of twilight. The black knots in the trees required a different brush; I cut a stiff flat brush to an angle so that I could get into those tiny areas.
Thanks for reading my stuff this month. I have had a great time sharing my love of Paintstiks. If you want to keep in touch, come on over to my blog or my website or email me. I'm also on Pinterest.
Leave a comment to be entered into the drawing for the fabulous (or at least pretty neat) Paintstik Prize Package.