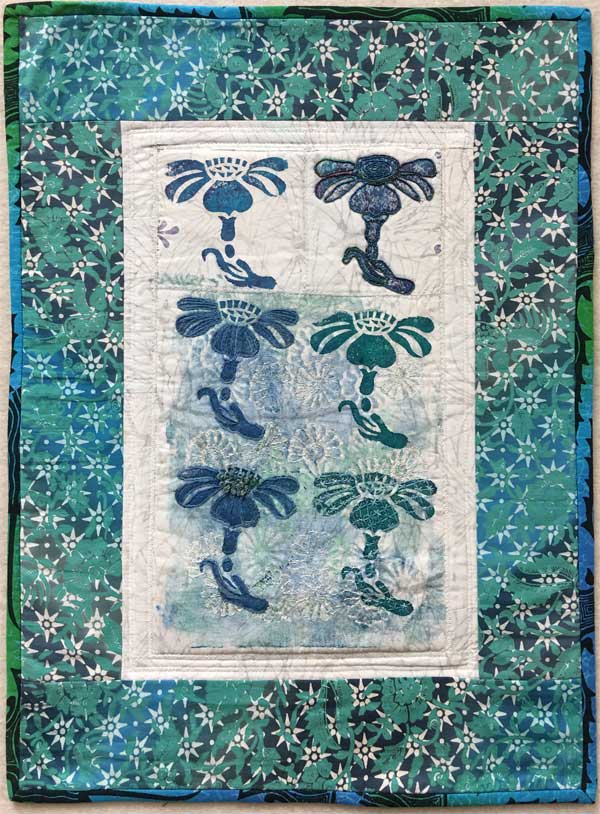
- You're playing with a solid form of oil paint. Dress accordingly.
- Prep your work area for potential mess. Cover your worktable with plastic and have a place for trash that's easily accessible and will corral any errant Paintstik skin. I call this mess management.
When you open a pack of Paintstiks, you'll notice there's a skin covering the yummy oil paint goodness inside. You need to remove the skin before you can use the Paintstik. Here's how:
- Gently pry open the paper tube around the Paintstik so that you'll be able to move the Paintstik up as you use it. Leave the tube on the Paintstik; just make sure you'll be able to slide the Stik.

- With an old knife devoted to art (and NOT food), cut or peel off as little skin as you can without losing too much of the paint inside. You'll see a difference in the sheen of the Paintstik when you get through the skin. The paint is shiny; the skin is not. (If you feel like you're wasting paint and you have a whole lot of time, feel free to try to reconstitute the skin with some linseed oil. I just don't have time for that.)

- If you've used the Paintstik recently, you may be able to remove the skin by covering the tip of the Paintstik with a rag or paper towel and gently twisting. I've never had this work on a fresh, new Paintstik.

- MESS MANAGEMENT: Make sure all of the Paintstik skin and crumbs make it into the trash.
When I work with Shiva Paintstiks, I generally use them to create rubbings or with stencils. Today, let's talk about creating rubbings.
To set up your workspace, I recommend starting with a Grip-n-Grip No Slip Mat. It will give you a great non-skid work surface that will keep your rubbing plate in place. (And you'll find lots of other uses for it!) Pat it to be sure it's securely in place. Both sides grip, so you are making sure of the temporary bond between the Grip-n-Grip and your work surface.

Next layer: rubbing plate! Pat it into place as well, to ensure it will stay put.
Lots of students ask which side is up. Rubbing plates generally have no labels to give you a clue. Here's how I determine which side the manufacturer intended as the "right" side. Place the rubbing plate flat on a table. Now, look at the lip around the rubbing plate. Is it absolutely flat against the table? Yes? That's the side to use. If there's a little space (maybe 1/8") between the table and the edges of the rubbing plate, that's the flip side. It will still work for rubbings, but the image will be different and may not be as crisp as you would expect.

Now add your fabric. It may stay on place better because of the Grip-n-Grip, but don't rely on it. Here's where you start being a bit careful about keeping things in place.

Once the fabric is in place, make sure you know where the edges of the plate are. In this shot, the tips of the fingers on my left hand are resting against the edge of the plate, which is under the fabric.

Generally, I pull the Paintstik across the surface in one direction, careful to keep the fabric from shifting. How hard should you press? Hard enough to get color on your fabric, but not hard enough to push or pull your fabric into distortion. It may take a little time to get the feel of this.
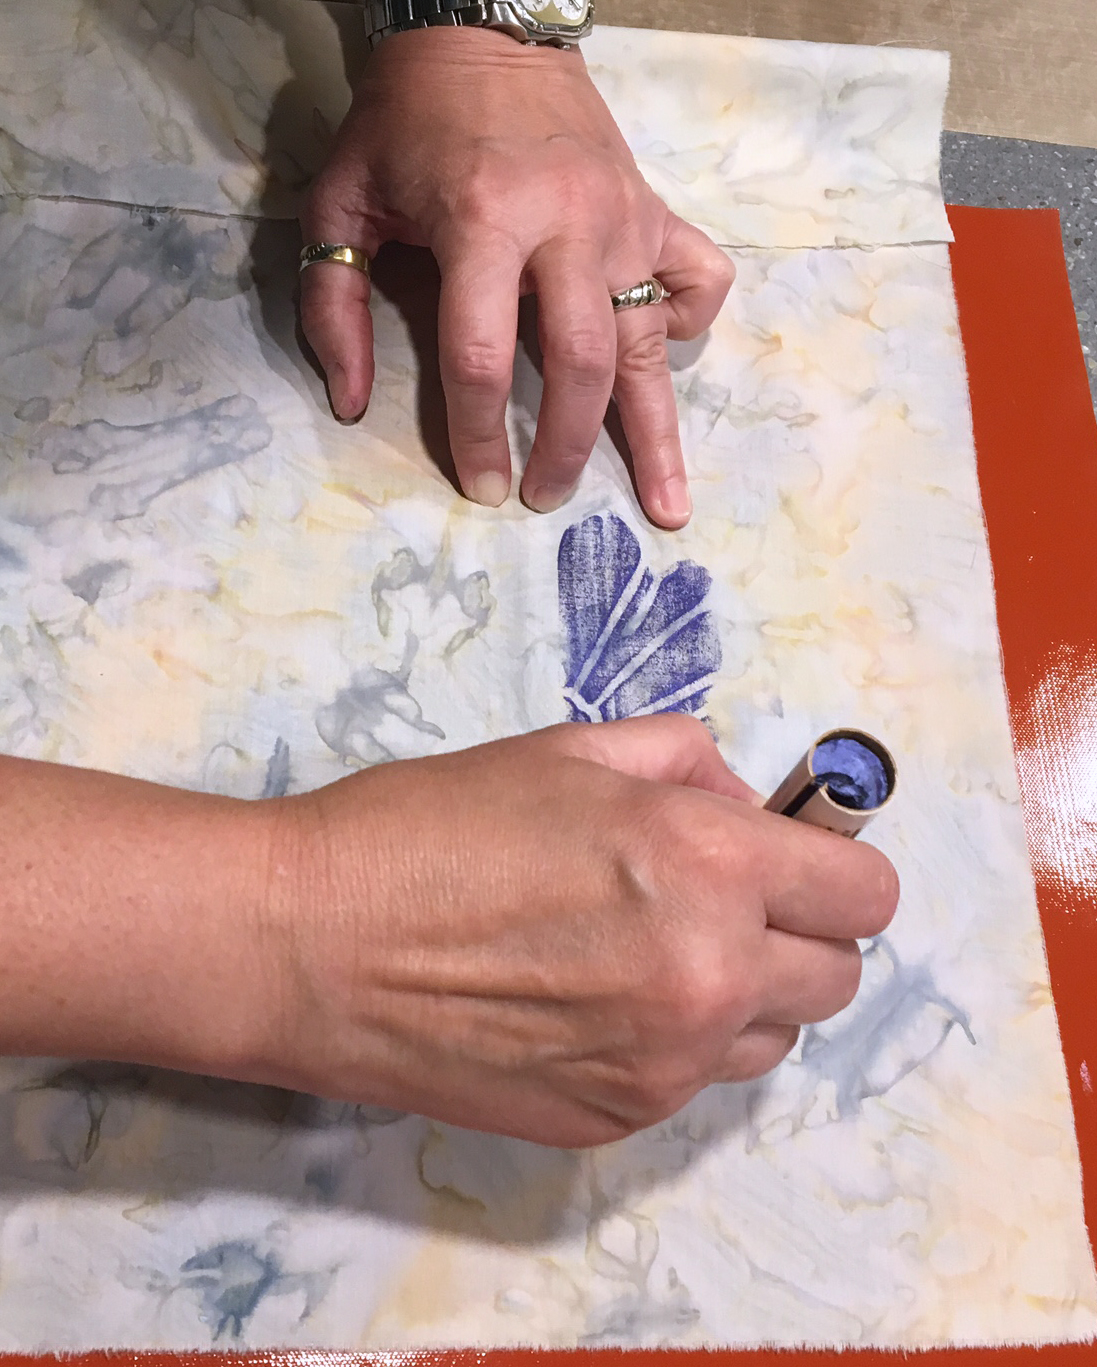


Do NOT time travel back to kindergarten where you scribbled in all directions to complete a rubbing with paper and crayons. That will distort and move the fabric. Of course, if that's the effect you want...
Does the rubbing need something more? Add layers!
Don't limit yourself to commercial rubbing plates. They're great for a lot of reasons, but there's so much more out there. For this flower, I wanted to add a little structure and background, so I used a piece of construction fence. Slip the texture you want to add under the fabric and add color by rubbing the Paintstiks on the areas where you want it.


Sometimes, paint makes its way through the fabric onto your rubbing plate. Clean it with a baby wipe or a paper towel (or rag) and some orange based degreasing liquid cleaner. I like Citrasolv, but ZEP makes a good one, too. It's affordable, non-toxic, and safe to dispose of down the drain. In a pinch, I've successfully used Dawn dish detergent.
In the next post, I'll add one more layer with a stencil to make this little flower a little more interesting. For now, here's another rubbing...

And here's what you can do with a selection of rubbing plates, black fabric, metallic Paintstiks, and some painter's tape. Fun!

Don't forget to comment so that we can enter you into the drawing to win this lovely Paintstik starter kit. Do you see where it says "Garden Flowers" on the Cedar Canyon label? Those six pictures are the rubbing plates included in this prize package.